安装HADOOP ON MAC
该博文详细介绍在Mac上安装Hadoop
原理
hadoop安装
hadoop配置
hadoop实例运行
在mac上安装hadoop是一件相对简单的事,因为命令行就可以搞定~
安装Homebrew
相信用Mac编程的geek们绝大多数都会安装homebrew,它就像ubuntu下的apt-get一样。如果已经安装,可以进行下一步;如果没有,直接在命令行中输入这个:
1 | ruby -e "$(curl -fsSL https://raw.githubusercontent.com/Homebrew/install/master/install)" |
安装Hadoop
也是一行命令解决的事
1 | Install Hadoop |
但是在安装过程中,有可能有需要的依赖包需要安装。但是会给出提示,例如:
1 | hadoop: Java 1.7+ is required to install this formula.JavaRequirement unsatisfied! |
这时候直接按照它的缺省提示,执行:
1 | brew cask install java |
将提示的依赖包都安装完成之后,即可安装hadoop。
安装成功之后,Hadoop会自动安装到:/usr/local/Cellar/hadoop这个路径中
配置Hadoop
Hadoop的配置也很清晰,只按照顺序修改文档即可。
要注意的是,所有的路径中,hadoop的版本号都要修改成自己下载的hadoop版本号。
查询版本号
1 | hadoop version |
如果版本号不匹配,文件依然可以打开,但不能保存,这就很尴尬了。(这时候只能删除修改的内容,然后退出vim,重新进入正确的路径)
p.s. 这一步成功的话,说明hadoop单机版已经配置成功了~
编辑hadoop-env.sh (单机式)
1 | vim /usr/local/Cellar/hadoop/2.7.3/libexec/etc/hadoop/hadoop-env.sh |
进入vim之后,要记得摁“I”键,进行插入模式。
找到:
1 | export HADOOP_OPTS="$HADOOP_OPTS -Djava.net.preferIPv4Stack=true" |
把它替换成:
1 | export HADOOP_OPTS="$HADOOP_OPTS -Djava.net.preferIPv4Stack=true -Djava.security.krb5.realm= -Djava.security.krb5.kdc=" |
摁ESC退出插入模式,再:wq保存退出。
编辑Core-site.xml
依然是:
1 | vim /usr/local/Cellar/hadoop/2.7.3/libexec/etc/hadoop/core-site.xml |
找到这一行:
1 | <!-- Put site-specific property overrides in this file. --> |
复制粘贴在那一行下面:
1 | <configuration> |
保存退出
编辑mapred-site.xml
1 | vim /usr/local/Cellar/hadoop/2.7.3/libexec/etc/hadoop/mapred-site.xml |
进入之后默认是空白的,粘贴:
1 | <configuration> |
编辑hdfs-site.xml
1 | vim /usr/local/Cellar/hadoop/2.7.3/libexec/etc/hadoop/hdfs-site.xml |
找到这一行:
1 | <!-- Put site-specific property overrides in this file. --> |
粘贴:
1 | <configuration> |
添加环境变量
1 | vim ~/.profile |
粘贴:
1 | alias hstart="/usr/local/Cellar/hadoop/2.7.3/sbin/startdfs.sh;/usr/local/Cellar/hadoop/2.7.3/sbin/start-yarn.sh" |
然后加载源:
1 | source ~/.profile |
验证分布式系统配置
1 | hdfs namenode -format |
如果这一步有**[Fatal Error]**,比如:
1 | [Fatal Error] mapred-site.xml:6:17: Content is not allowed in trailing section. |
说明前面的配置文件中,这个mapred-site.xml复制得不对,一般的原因是:复制不完整,或者复制错误,或多/少了”<”,”>”符号之类的问题。重新vim一下,检查文件的syntax,修正即可。
如果系统是64bit的,还有可能看到这个warning:
1 | 17/04/06 20:49:55 WARN util.NativeCodeLoader: Unable to load native-hadoop library for your platform... using builtin-java classes where applicable |
这是因为原始的Hadoop库$HADOOP_HOME/lib/native/libhadoop.so.1.0.0是在32位的系统上编译的,所以在64位系统上会出现该提示。但是该提示不影响Hadoop的使用。
本地主机SSH
如果原本有ssh的,就不用再生成了。(配置过github的很有可能生成过ssh)
检查方式:
1 | ~/.ssh/ |
如果有:
1 | id_rsa id_rsa.pub |
即说明有,就可以不用生成ssh啦~
如果没有,生成一个:(这个是免密的模式,如果原有ssh是加密的,则在登录时需要输入密码)
1 | ssh-keygen -t rsa |
如果本来是免密的,但是某一天让你输入密码了,则是权限出了问题,修改权限如下:
1 | chmod go-w ~/ |
允许远程登录
在“系统偏好”-> “分享” -> 打勾“远程登录”
(“System Preferences” -> “Sharing”-> “Remote Login”)
授权SSH Keys
要让电脑接收远程登录,就要先报备一下这个ssh key:
1 | cat ~/.ssh/id_rsa.pub >> ~/.ssh/authorized_keys |
试着登录一下:
1 | ssh localhost |
输入密码,出现:
1 | Last login: Thu Apr 6 18:39:55 2017 from ::1 |
说明远程登录成功。好了,退出
1 | exit |
运行Hadoop实例
因为刚刚配置过了环境变量,所以现在开启hadoop直接输入:
1 | hstart |

现在hadoop 已开启
准备mapreduce
- 下载一个jar
- 或自己编程,先用java编程实现mapreduce,再用javac进行编译生成jar(不具体讲)
准备测试数据
直接用hadoop文档README.txt
或找网上的hadoop example:
1
2git clone https://github.com/marek5050/Hadoop_Examples
cd Hadoop_Examples再将里面的“dataSet1.txt”作为测试数据
文件上传
1 | hadoop fs -put ./dataSet1.txt |
这是将本地的dataSet1.txt文件上传到hdfs上的input文件夹中。其中,./dataSet1.txt是因为我切换路径至./dataSet1.txt所在的文件夹中,所以直接./,如果不是,就要写该文件所在的路径。txt之后默认保存在hdfs的初始目录下,也可以指定不同的地址,比如./input
运行mapreduce
1 | hadoop jar ./hadoop-mapreduce-examples-2.6.0.jar wordcount ./dataSet1.txt dataOutput |
解释一下,运行该命令的路径,是下载的jar所在的路径。hadoop jar后边的第一个参数,是下载的jar,后面的参数是这个jar自带的参数,表示可以分布式执行的不同任务,其中包括:
1 | Valid program names are: |
可以看到,有很多。这里选择了wordcount作为任务,也就是数每个word出现了多少次。
第三个参数是选择输入的文件,也就是需要执行wordcount的文件。这里的路径要写的是刚刚上传到hdfs的路径。
第四个也就是最后一个参数,是输出的文件放在哪里。要注意,这里需要指定一个文件夹名
运行结果
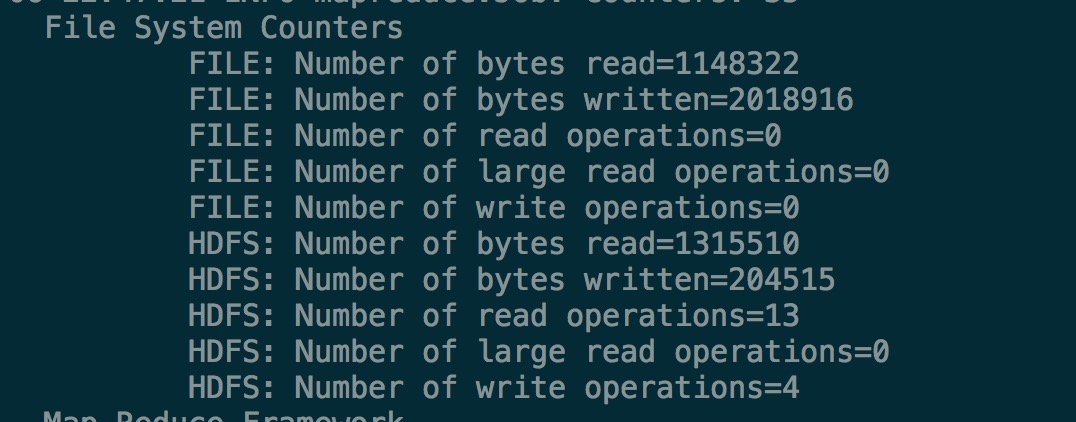
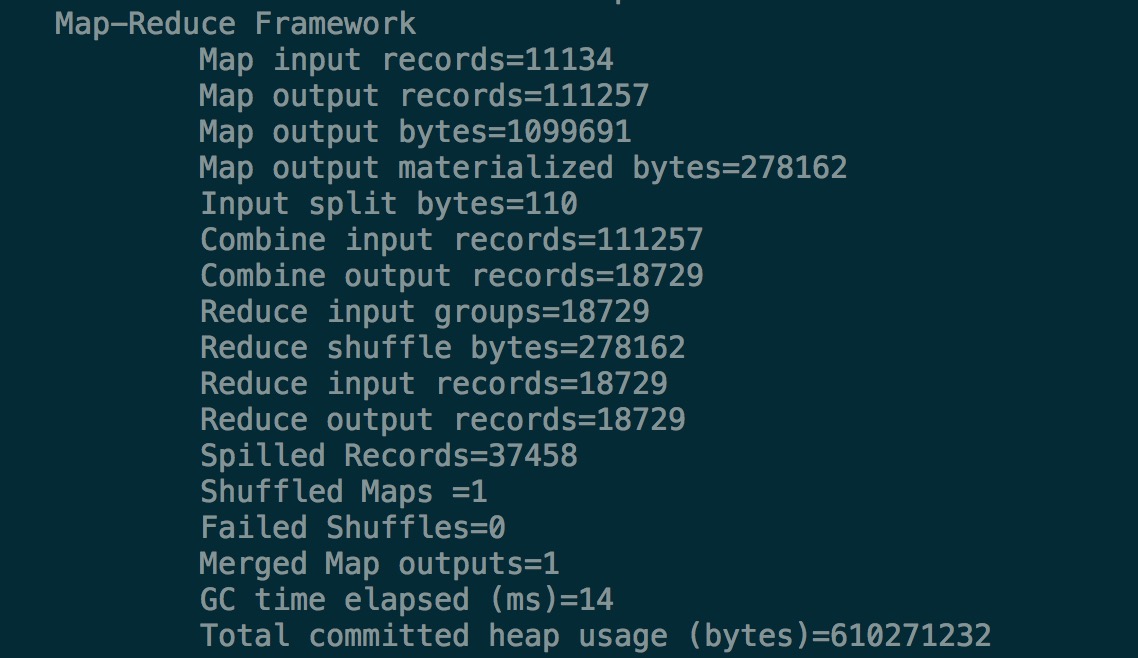
部分结果如图:
系统计数
分布式系统框架
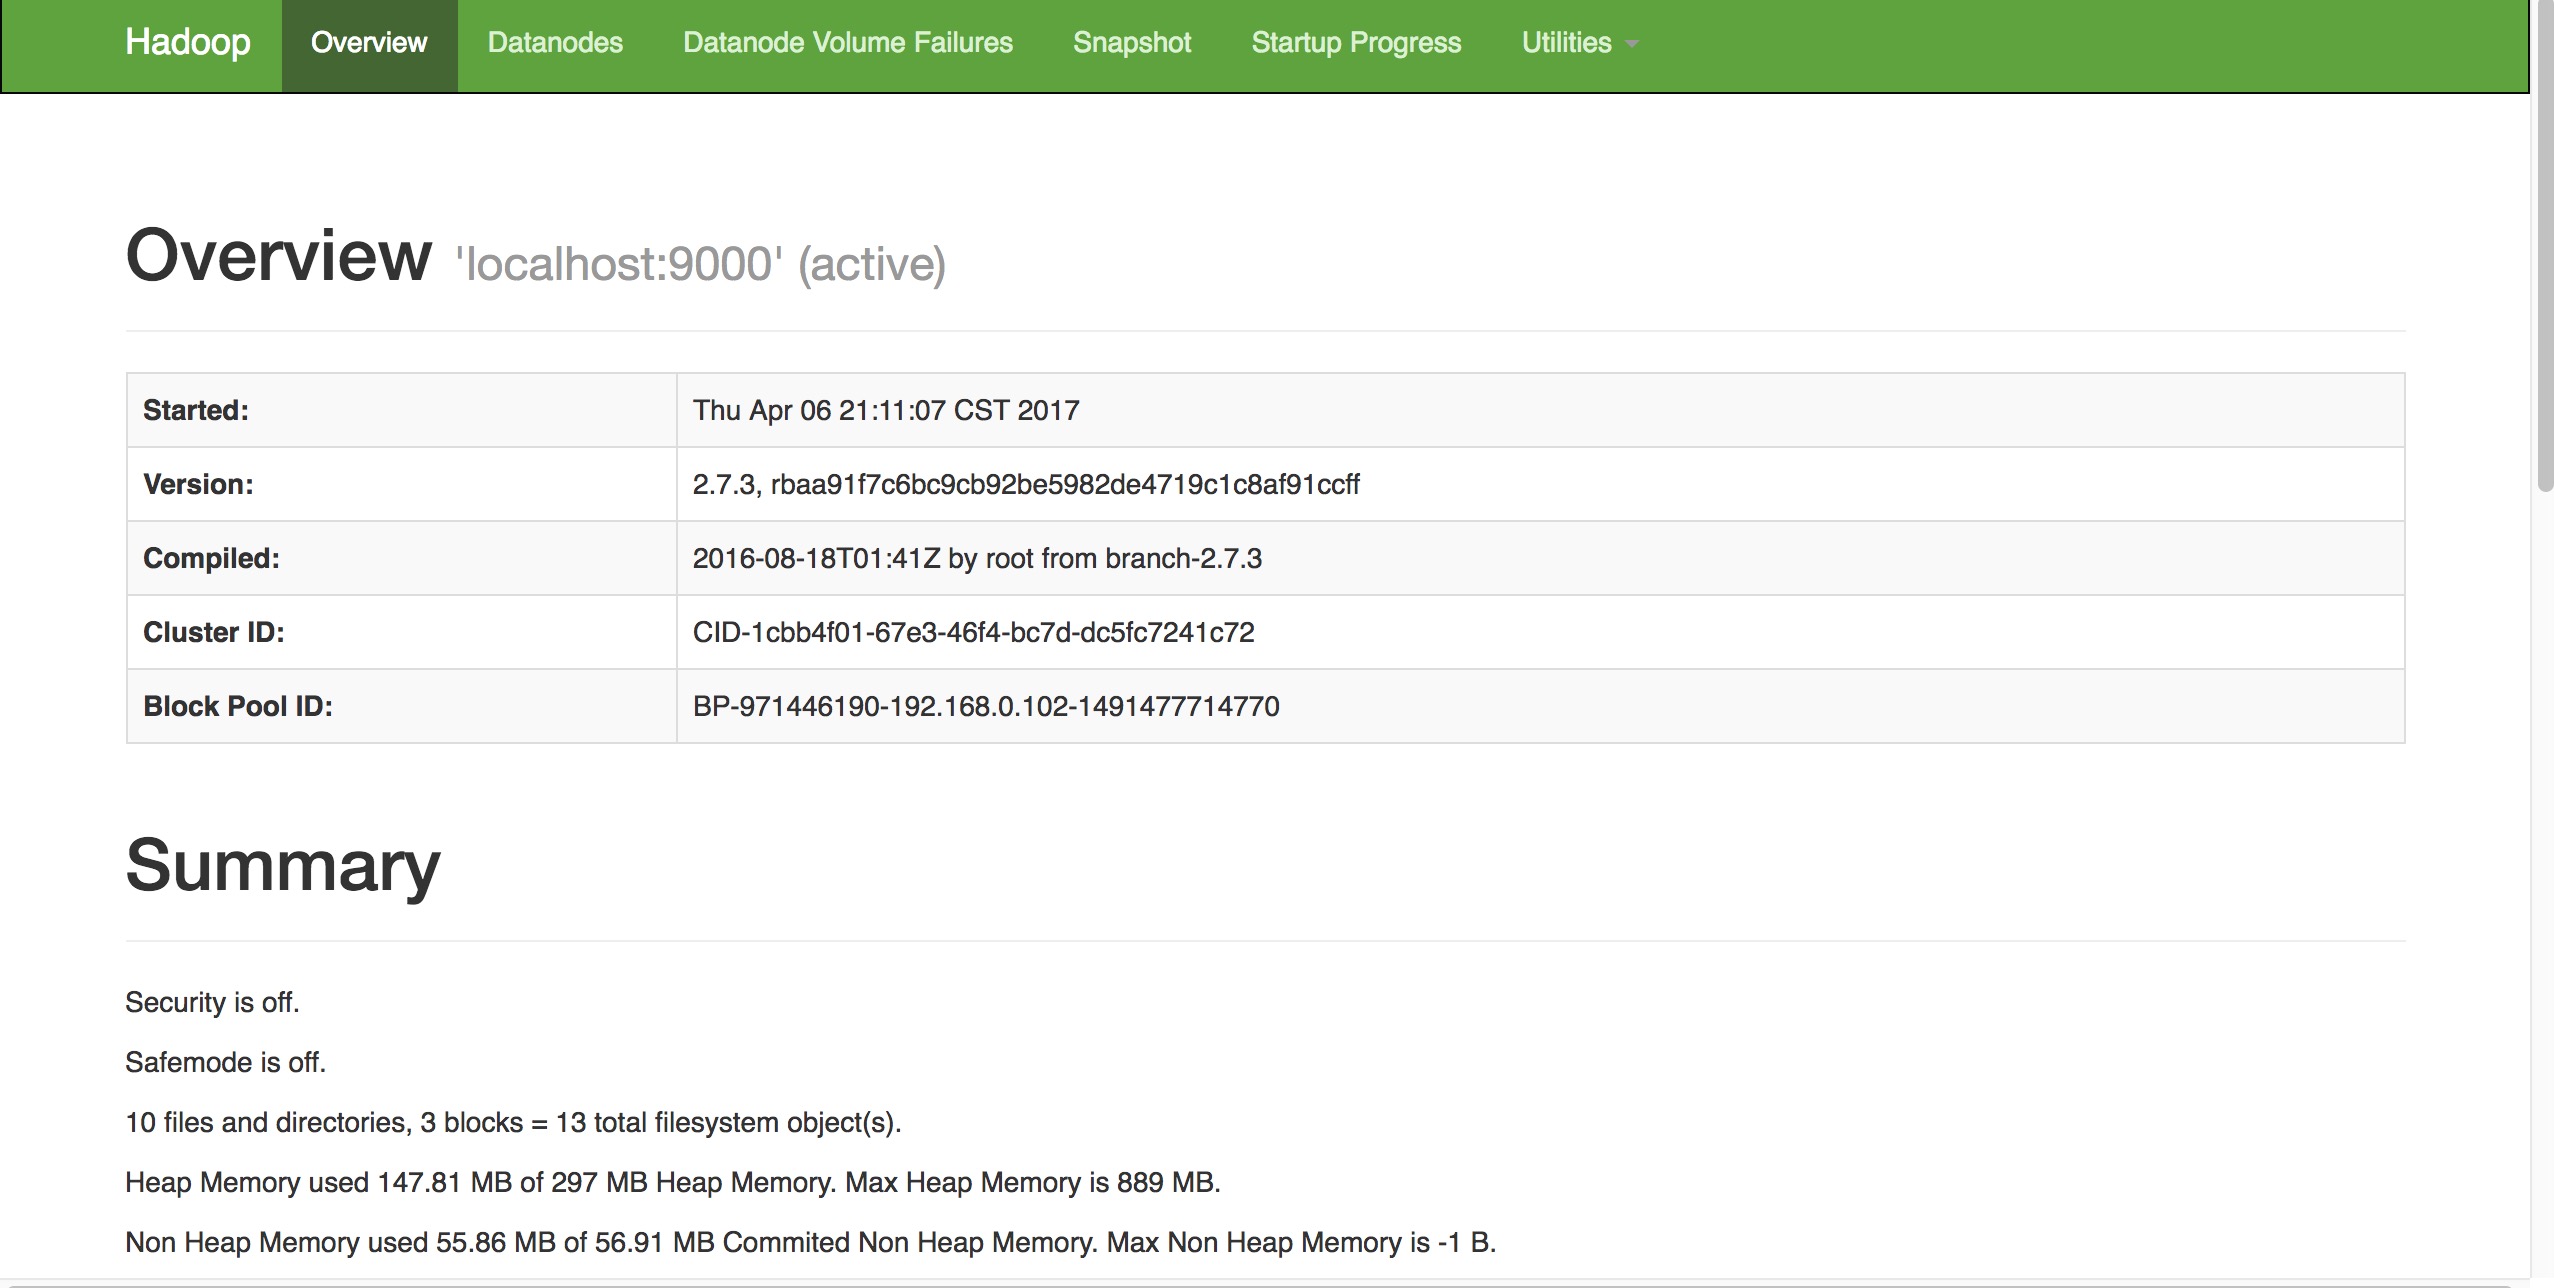
查看输出文件
打开端口local: 50070
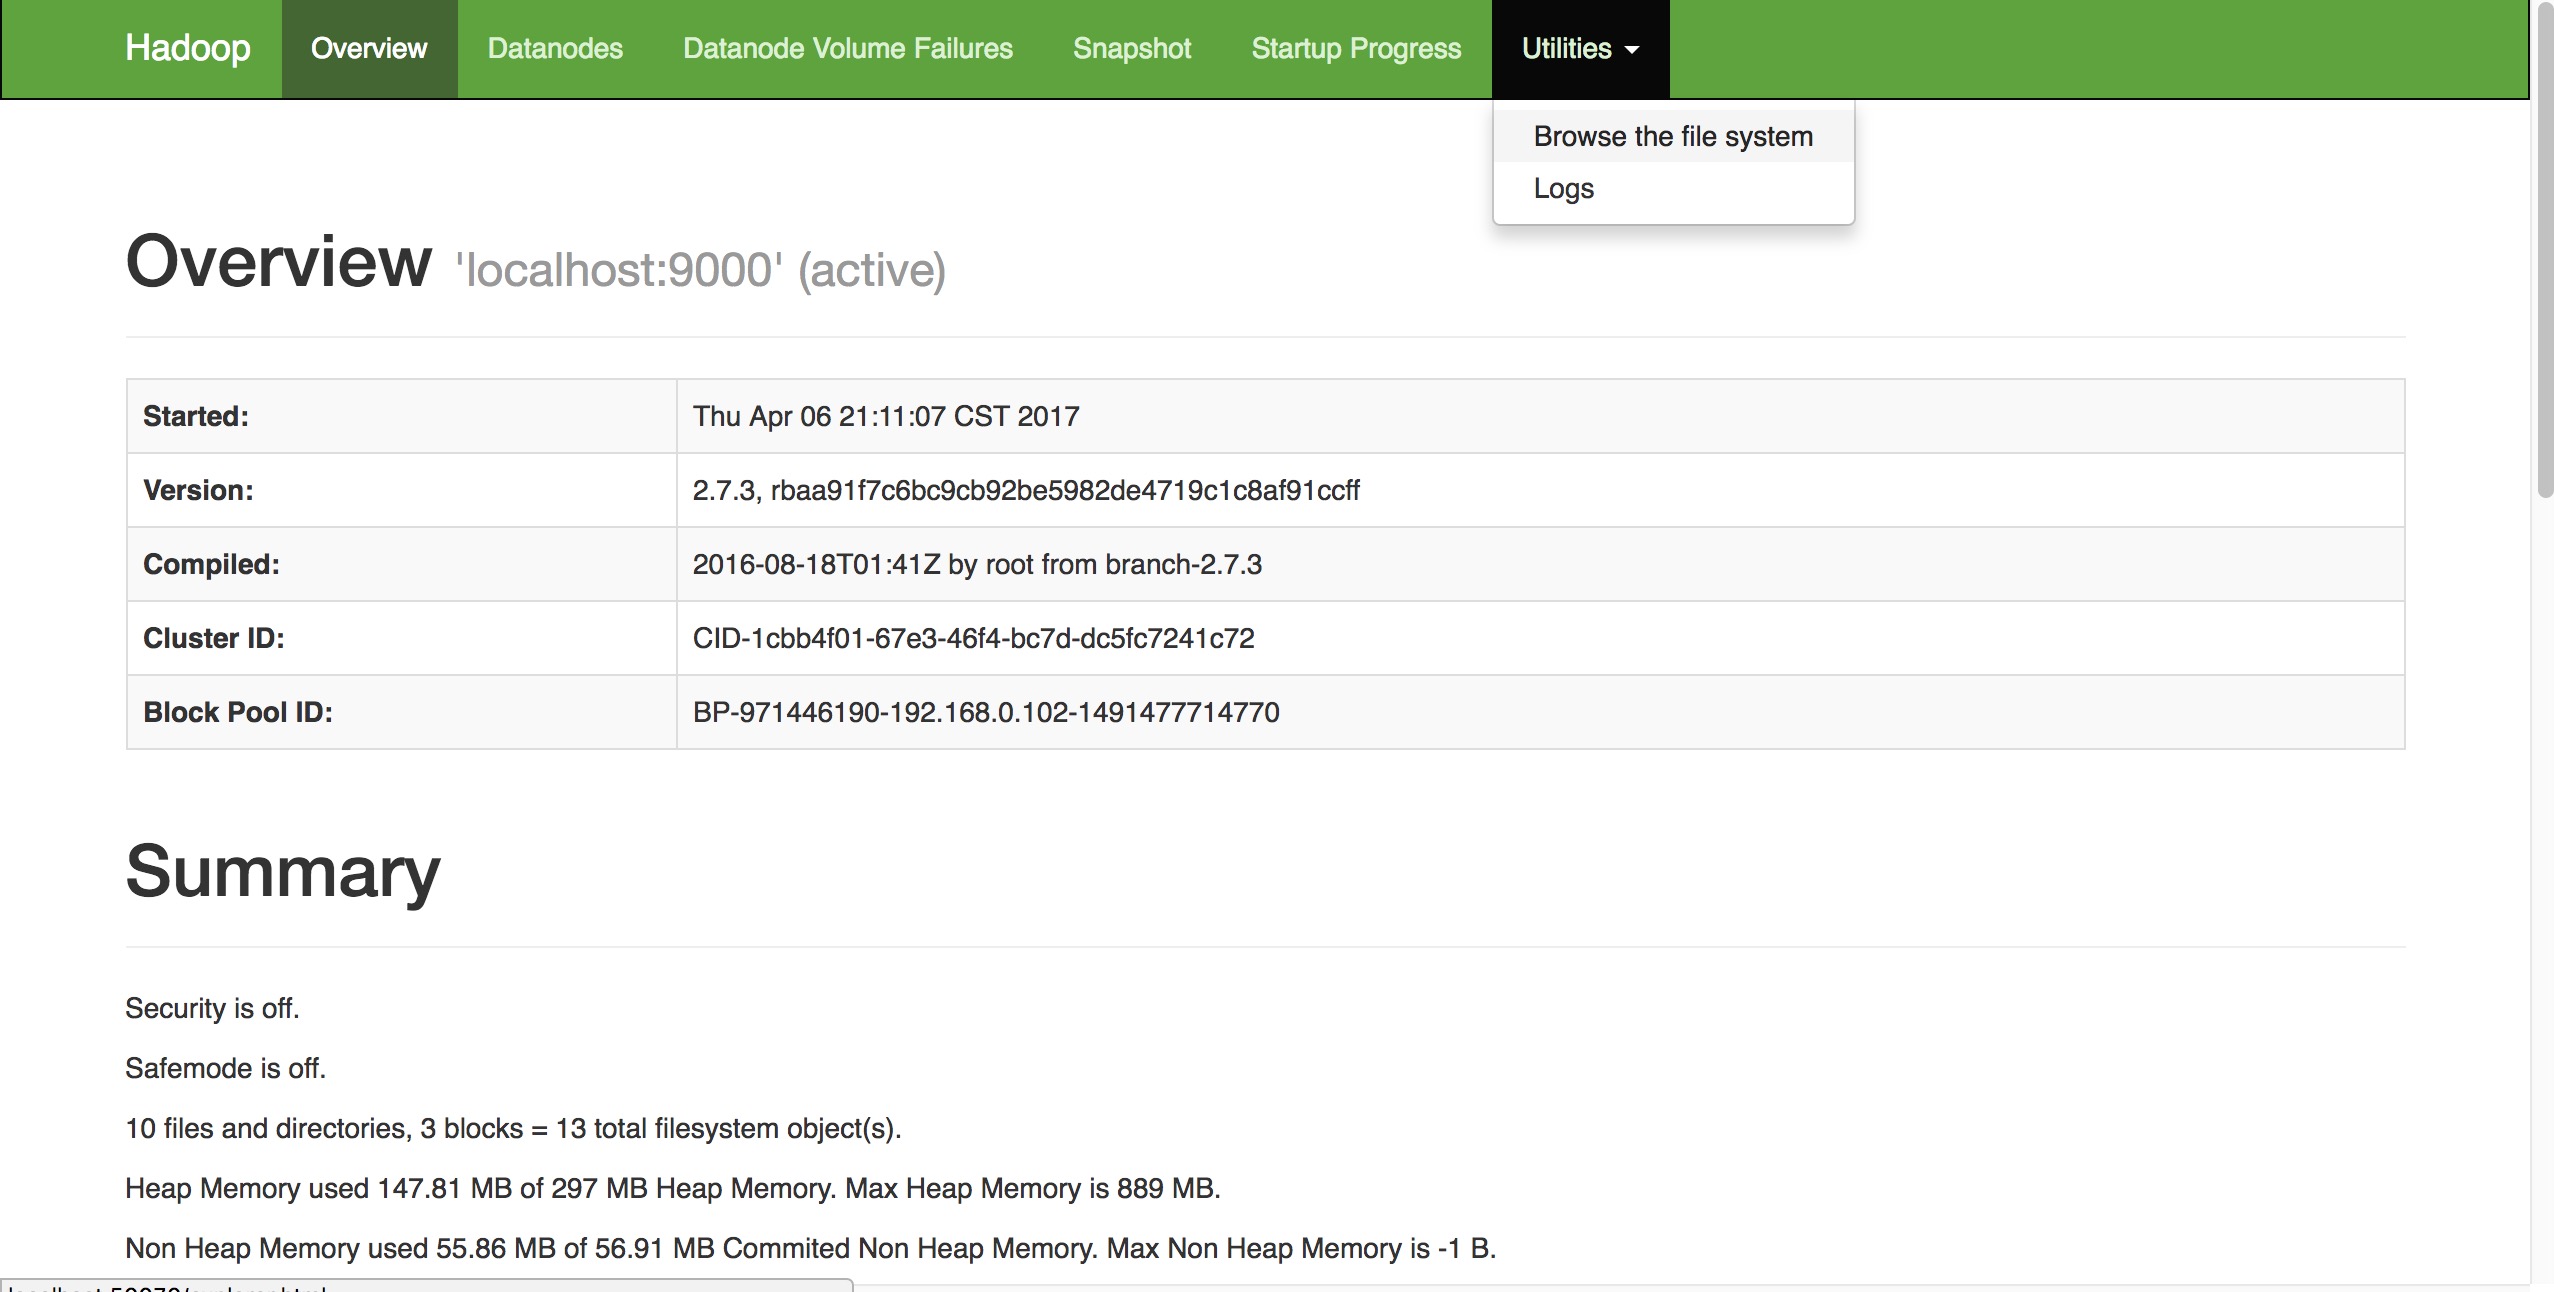
选择utilities-browse the file system
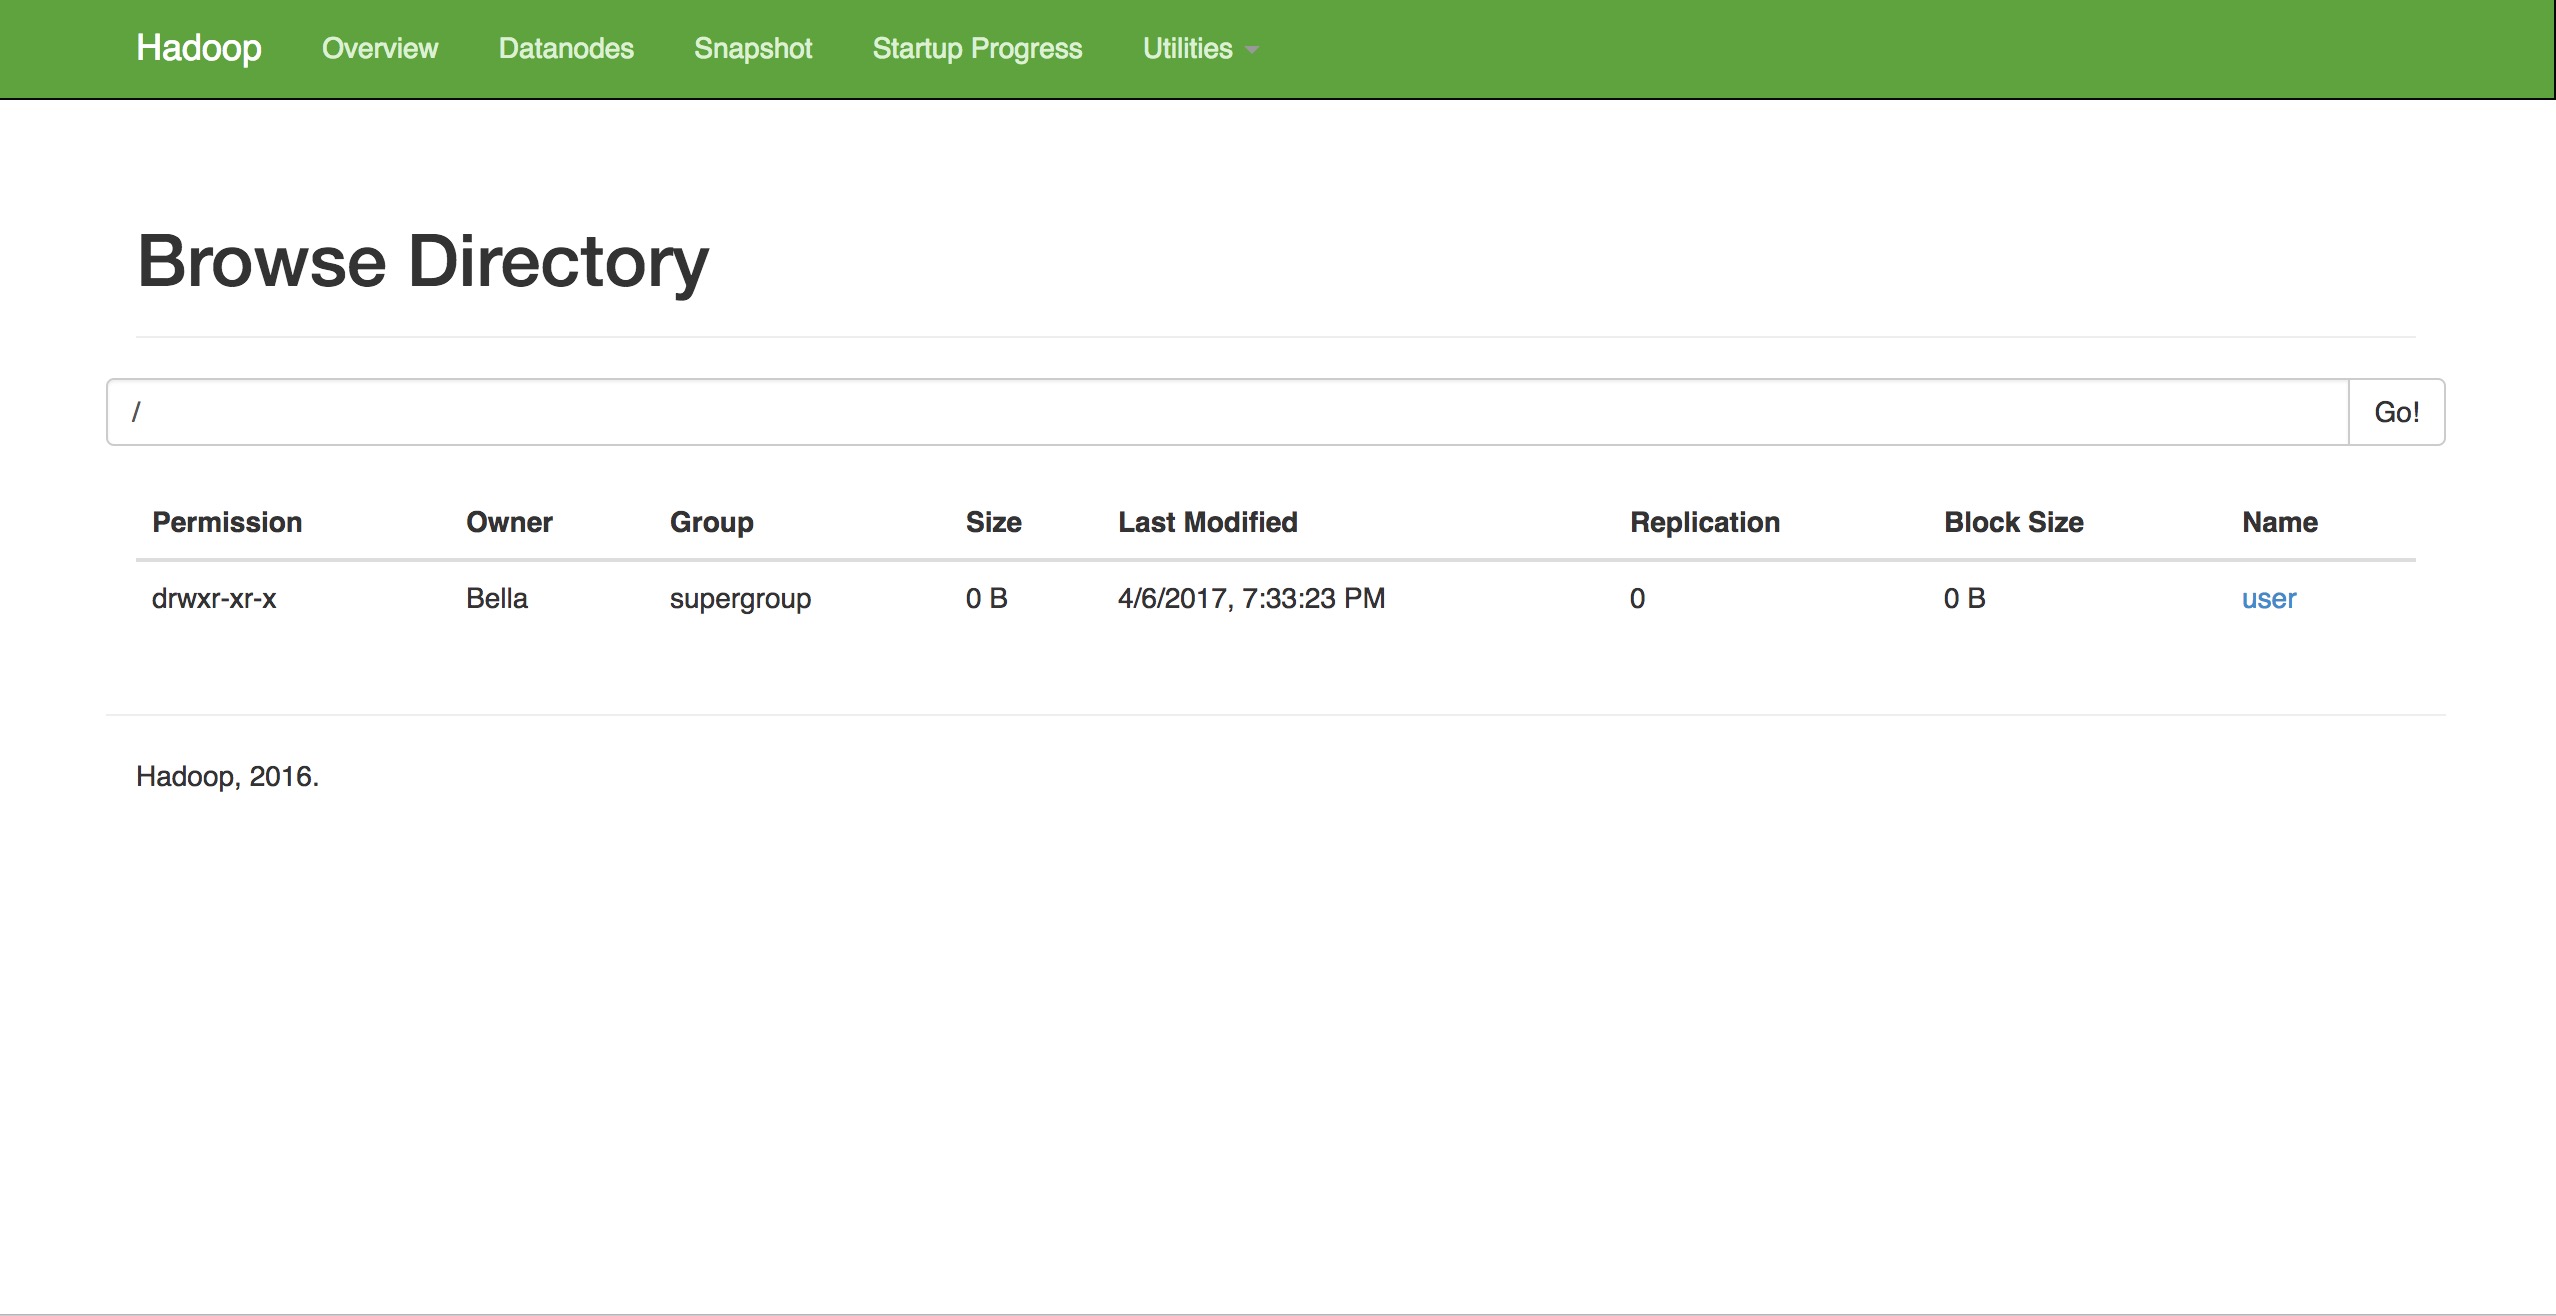
点击usr,之后依次找到刚刚输出结果的文件夹
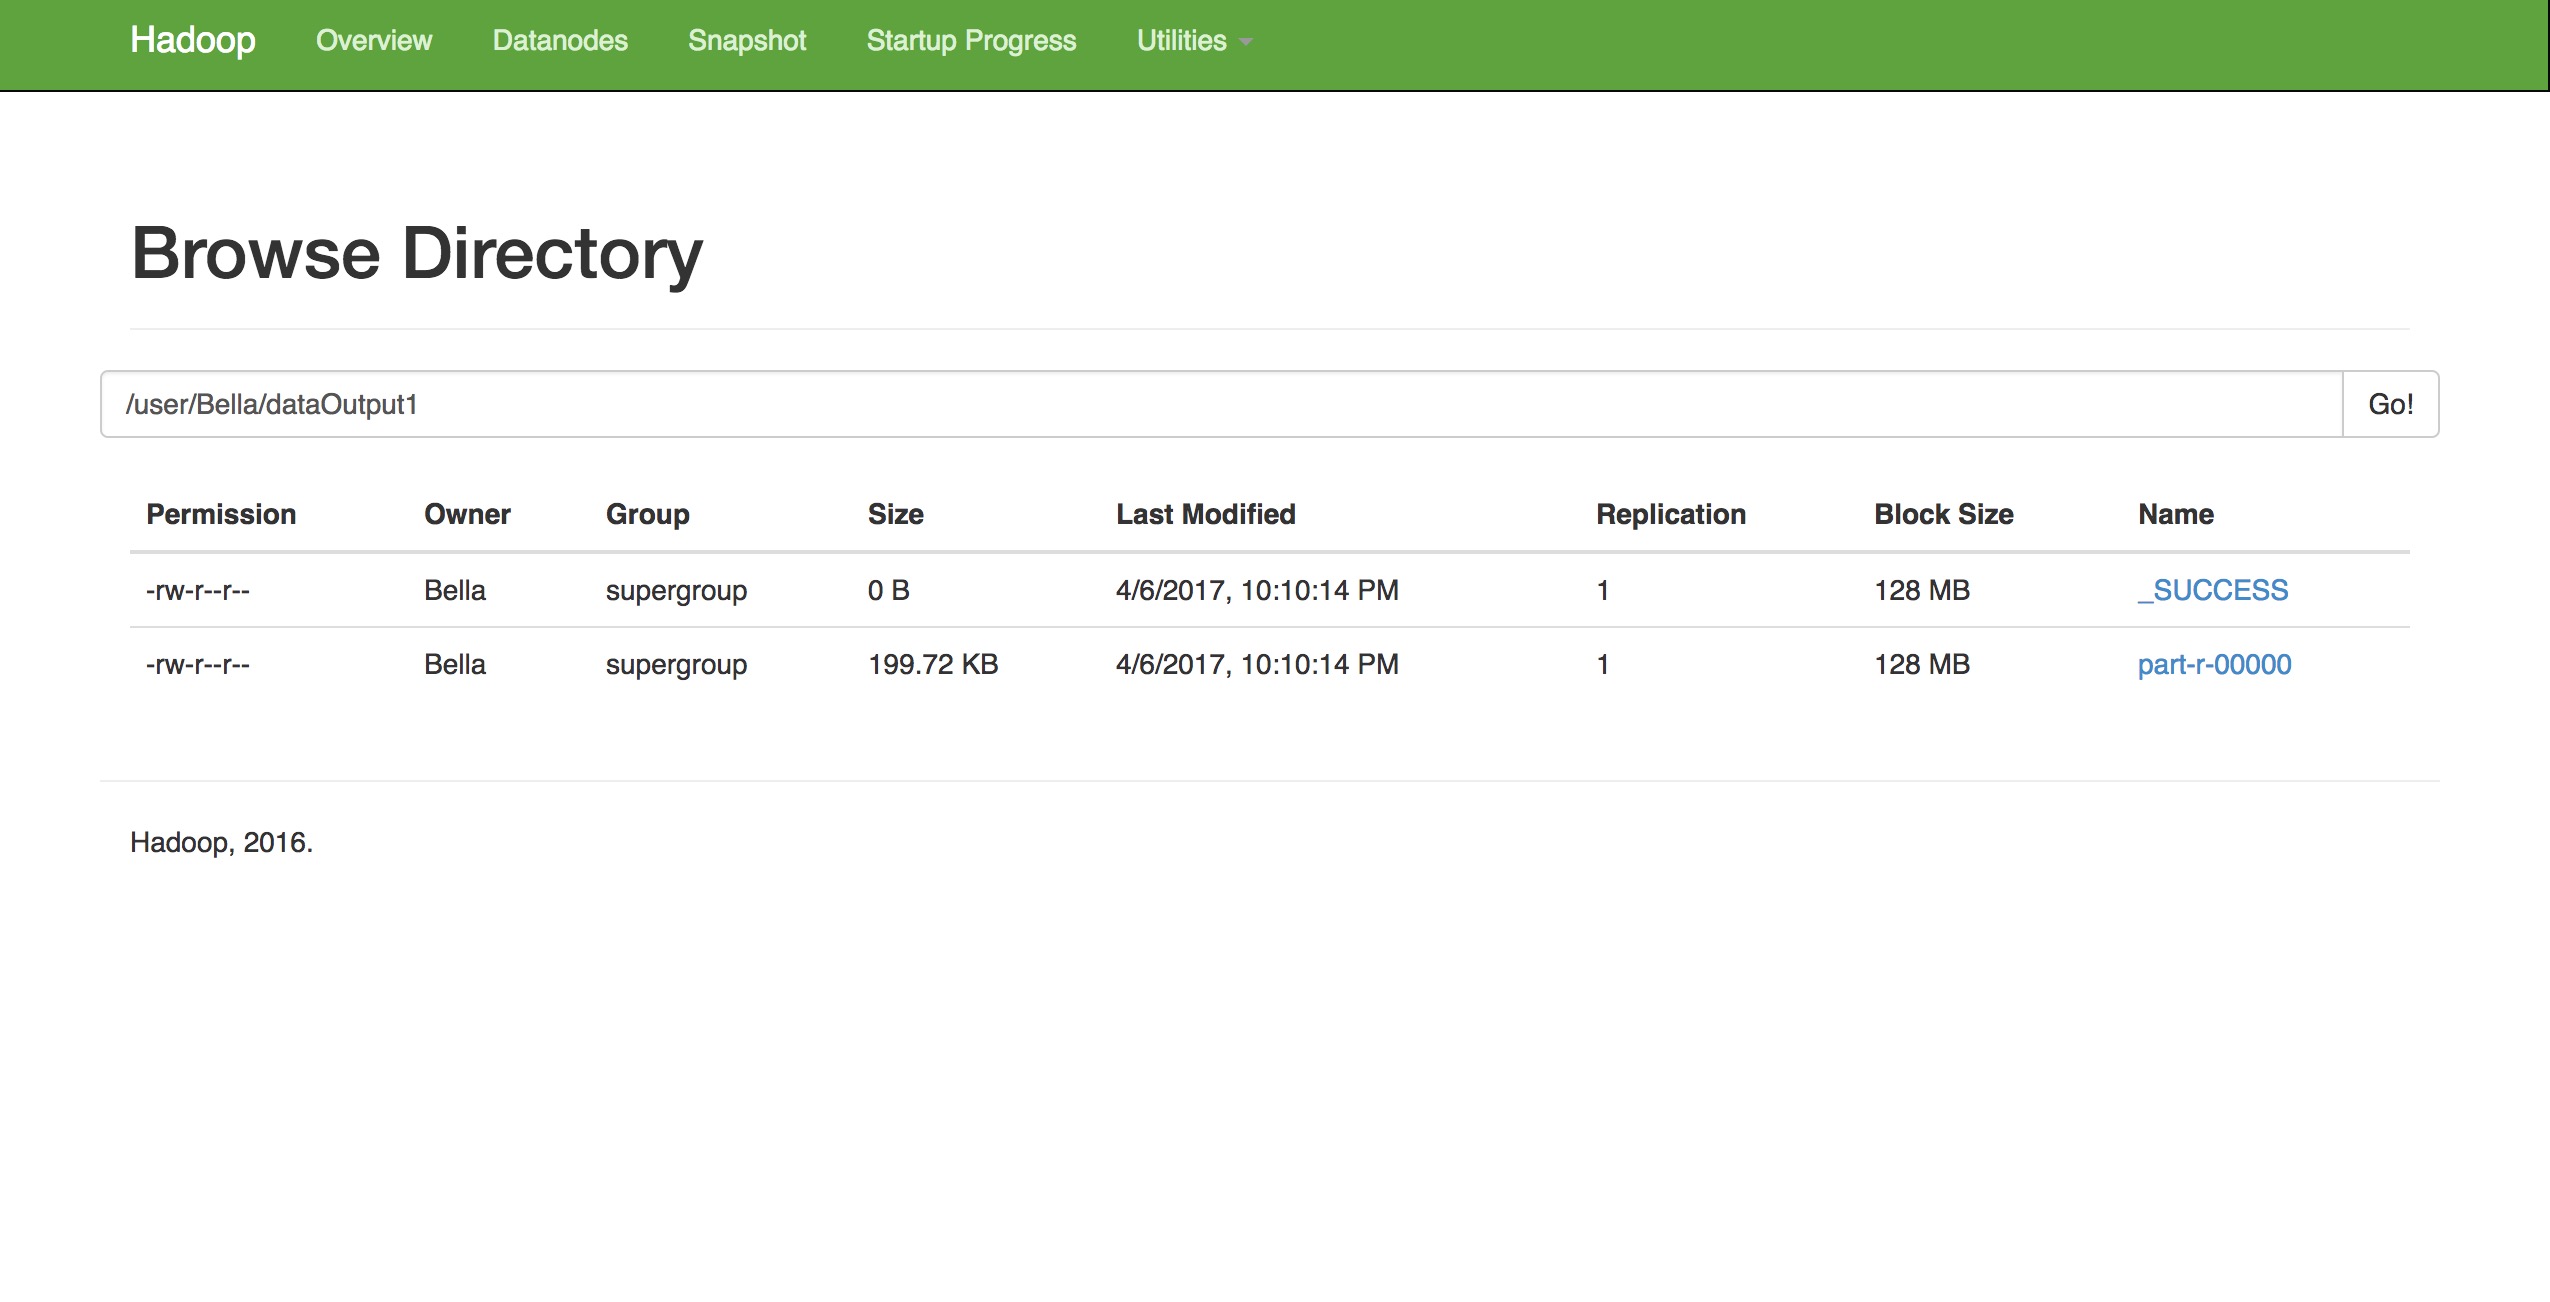
其中,part-r-000000就是输出的结果

点击下载,保存到本地。
部分结果截图:
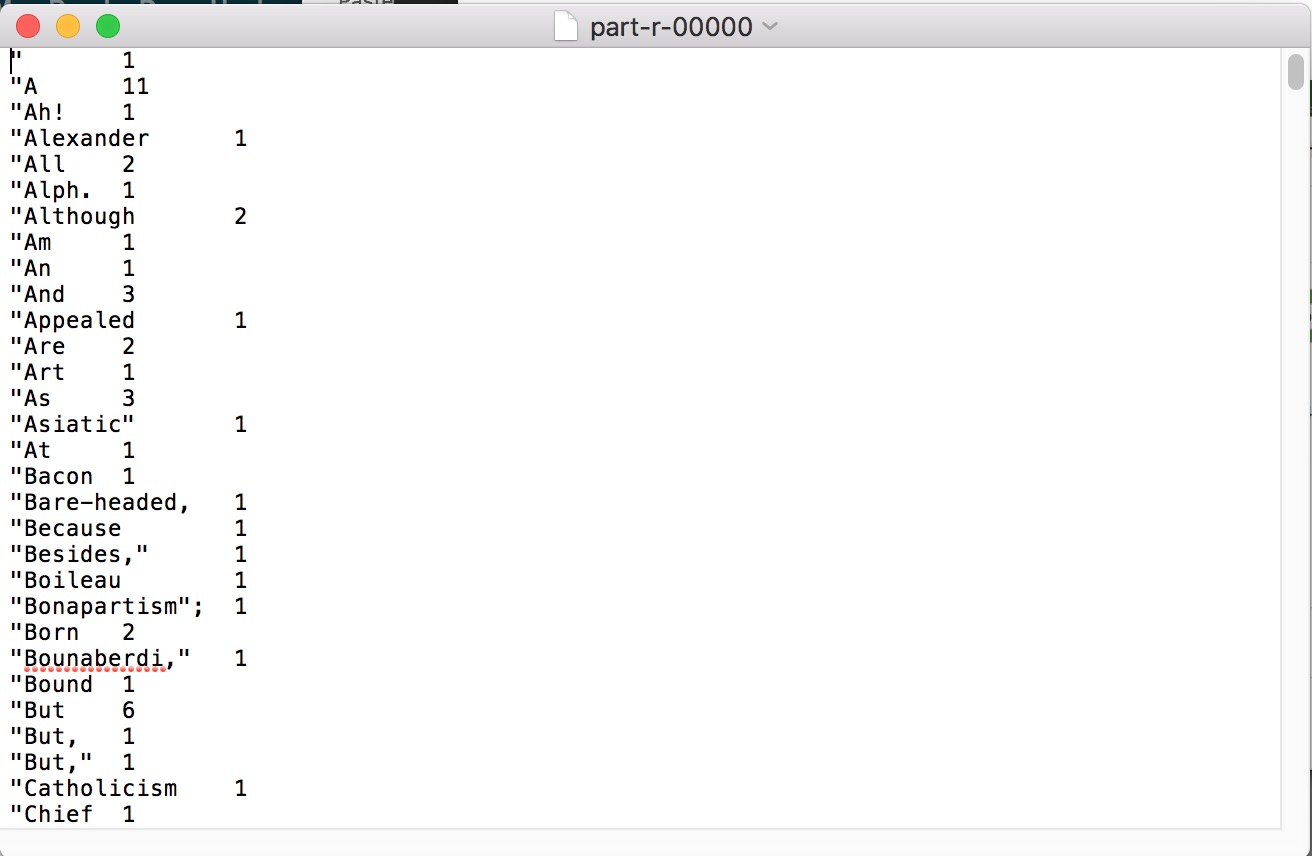
至此,hadoop安装、配置、运行成功。
参考链接:
https://amodernstory.com/2014/09/23/installing-hadoop-on-mac-osx-yosemite/
https://amodernstory.com/2014/09/23/hadoop-on-mac-osx-yosemite-part-2/#terminal
https://dtflaneur.wordpress.com/2015/10/02/installing-hadoop-on-mac-osx-el-capitan/